Build and host portfolio site with jekyll chirpy - Part 2 | Setup Chirpy and run locally
Objective
We are going to understand how to
- Use Chirpy theme
- Run in local environment
- Create first Blog post
- Deploy using GitHub pages
How to use Chirpy theme
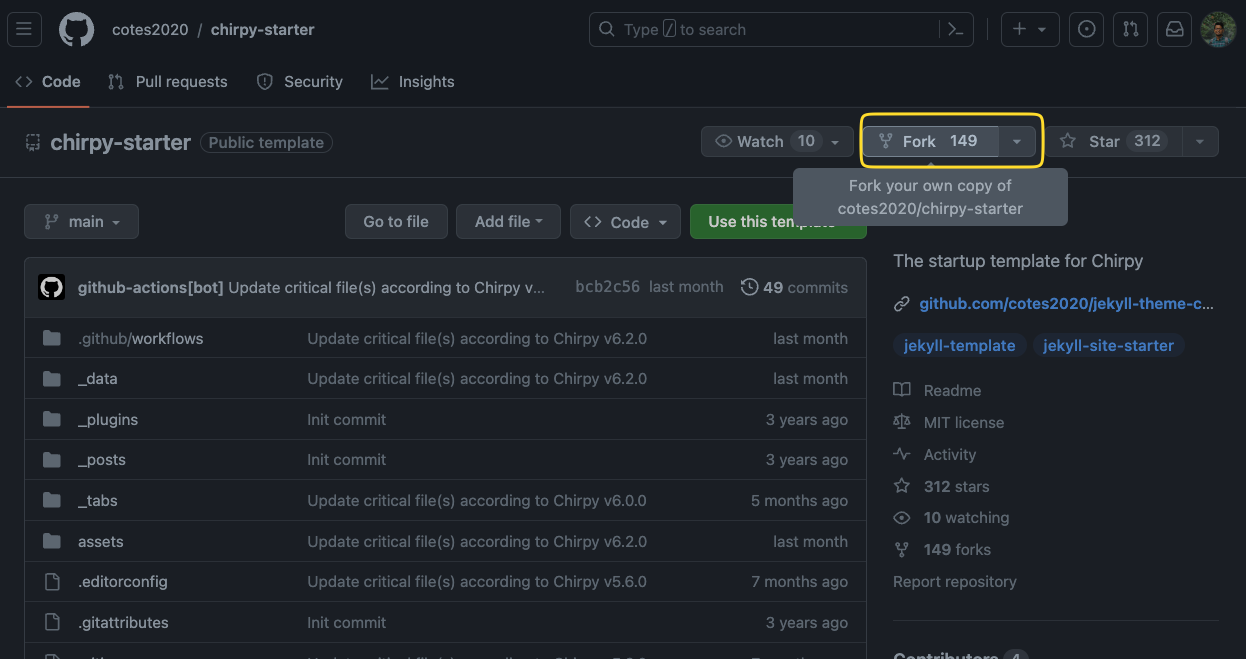
First step is to fork the chirpy project from CHIRPY-GITHUB.
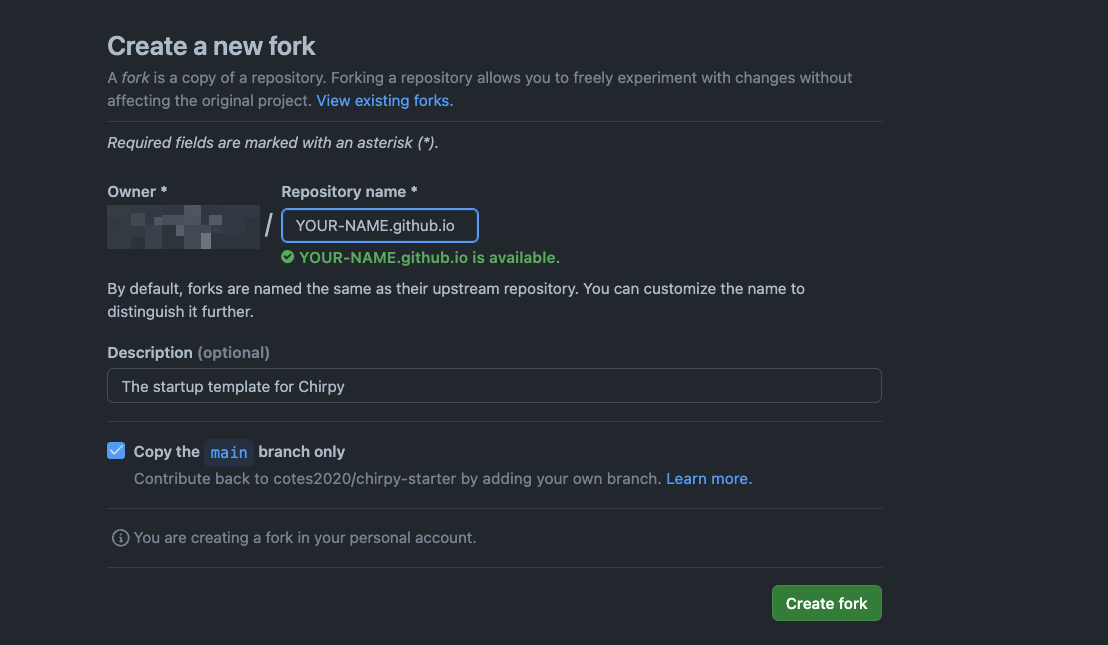
Then, give the repository name. The repository name must align with your GitHub username.
For Example, if my GitHub username is ronokdev then the repository name must be ronokdev.github.io
After creating fork of the chirpy starter project we need to pull or clone the project into our local machine.
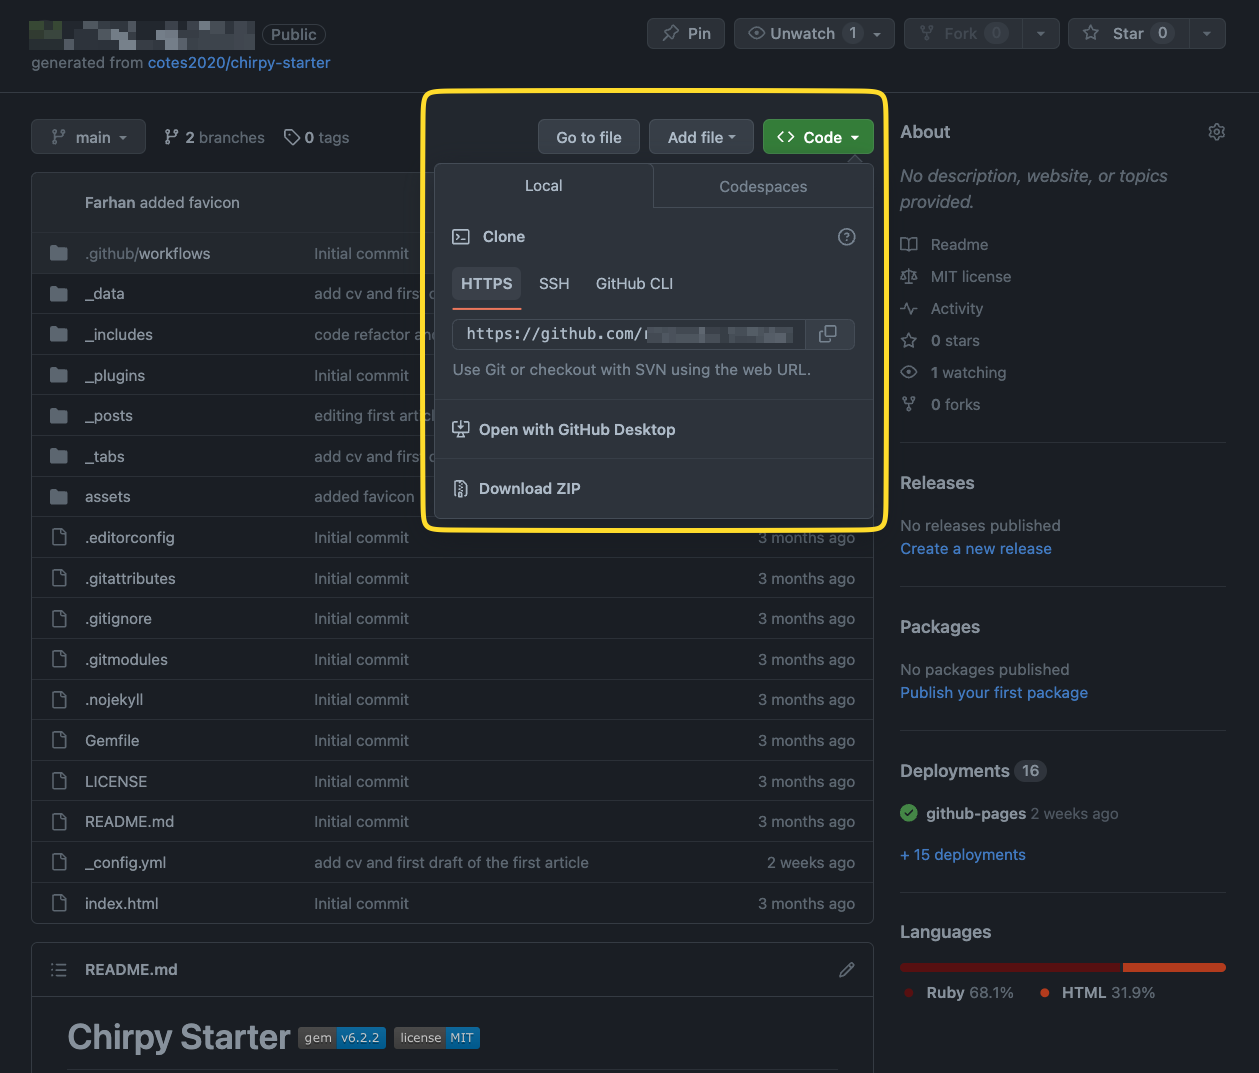
We can use any IDE as of our choice.I am using webstorm from JetBrains.
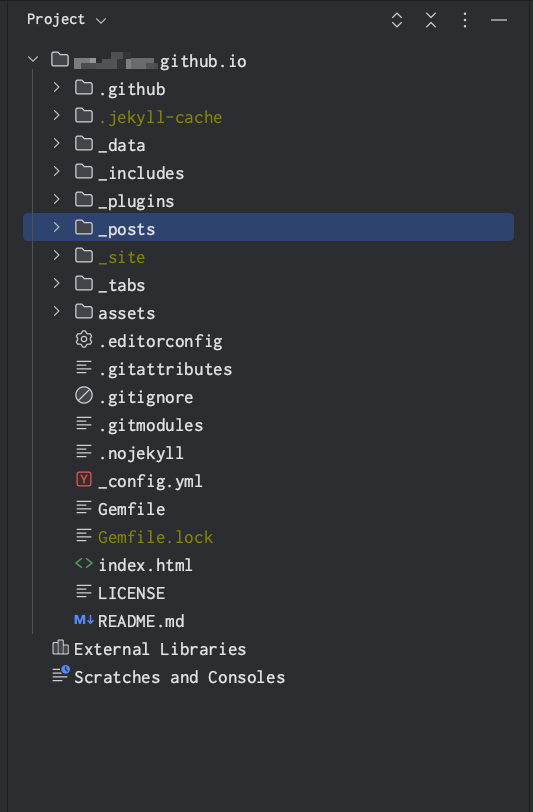
If the pulling from GitHub occurs correctly, and we open the project with our IDE, we should see the project folder structure something like below
Run in local environment
Now it’s time to run the project locally.
We need to go to the project folder in our local machine and run the following command.
1
bundle
This bundle command will then download and install all the dependency for this project. To actually run the project in our local machine, we need to execute
1
bundle exec jekyll s
Then we should see the project run in our local machine on this address http://127.0.0.1:4000/
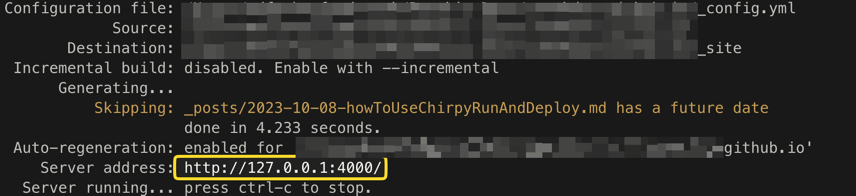
And that’s it , we have successfully run the project.
Create first Blog post
For creating a blog we need to add file with a specific name format under the _post folder.
File name should be in this format DATE-FILENAME.md
1
2
# Example file name
2023-10-07-FILENAME.md
The format is very important. Also if we put future date, then the post will not come up in our site.
Let’s create a file named 2022-10-08-BlogFirst.md into out _posts folder and as a content put these
1
2
3
4
5
6
7
8
9
---
title: Blog First
date: 2022-10-08 12:34:27 -500
categories: [cat1]
tags: [tag1,tag2]
---

## Heading
This is a content
If our local server is running, and we open our browser and hit this address http://127.0.0.1:4000/, we should see our first blog post.
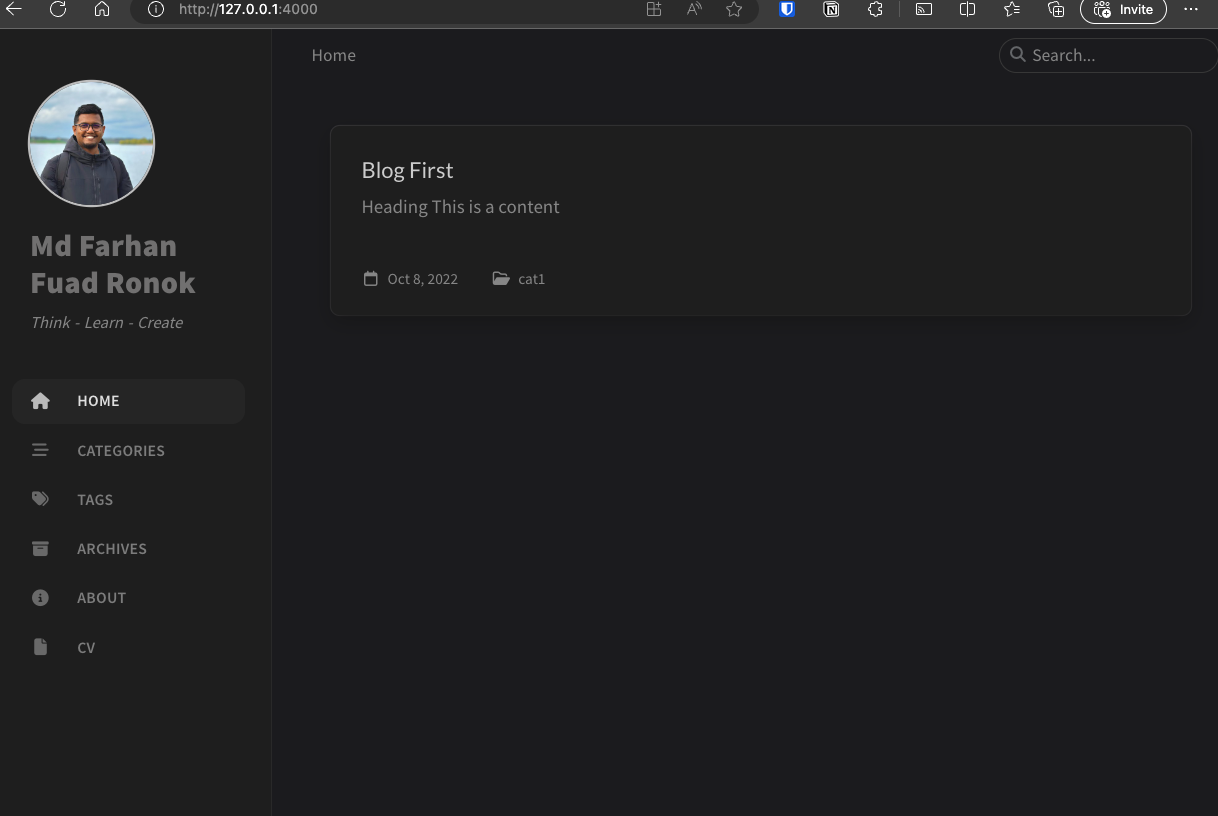
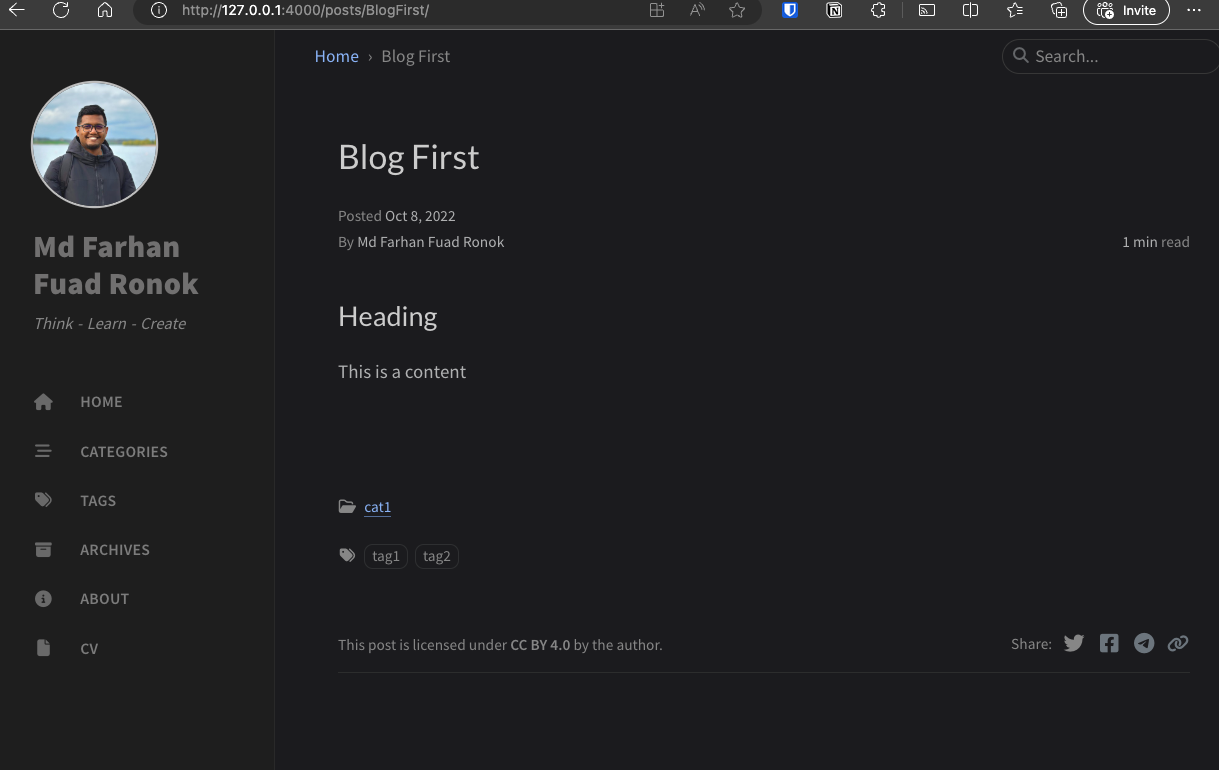
We can click on it, and it will show us the details.
We will discuss on another blog post on how we can customize the name and the image.
And this is how we can create a blog post.
Now it’s time for deploy.
Deploy using GitHub pages
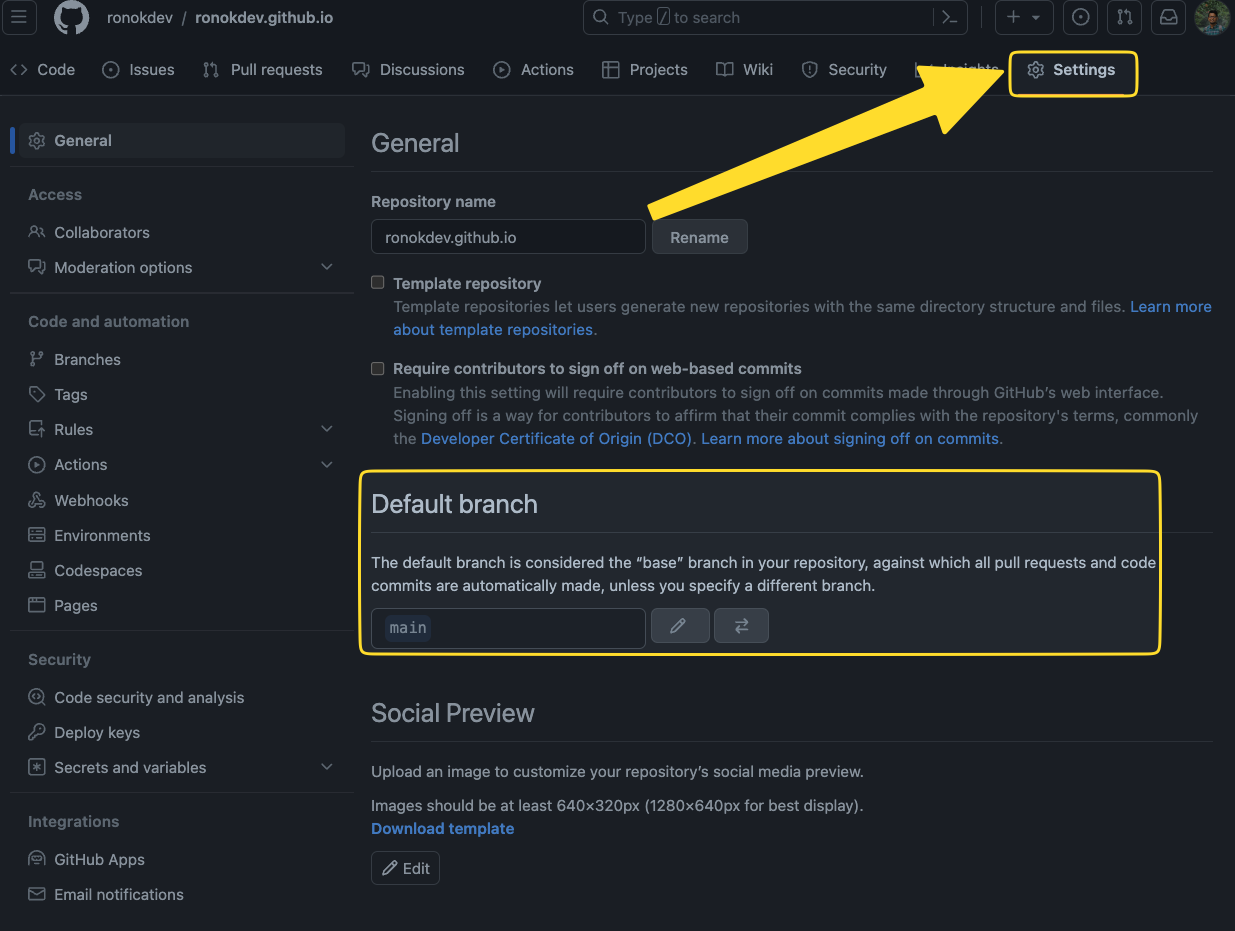
Assuming that we are at main git branch and if we add all the changes to a commit and push the commit to GitHub then automatically it will trigger a deployment and our site will be deployed to YOUR-GIVEN-NAME.github.io, in my case it will be ronokdev.github.io
Before pushing our changes, we need to check what is our default branch in our git repository. And we can do that by going to settings and check the Default Branch name.
After pushing our commit to the main branch, we should see a deployment running.
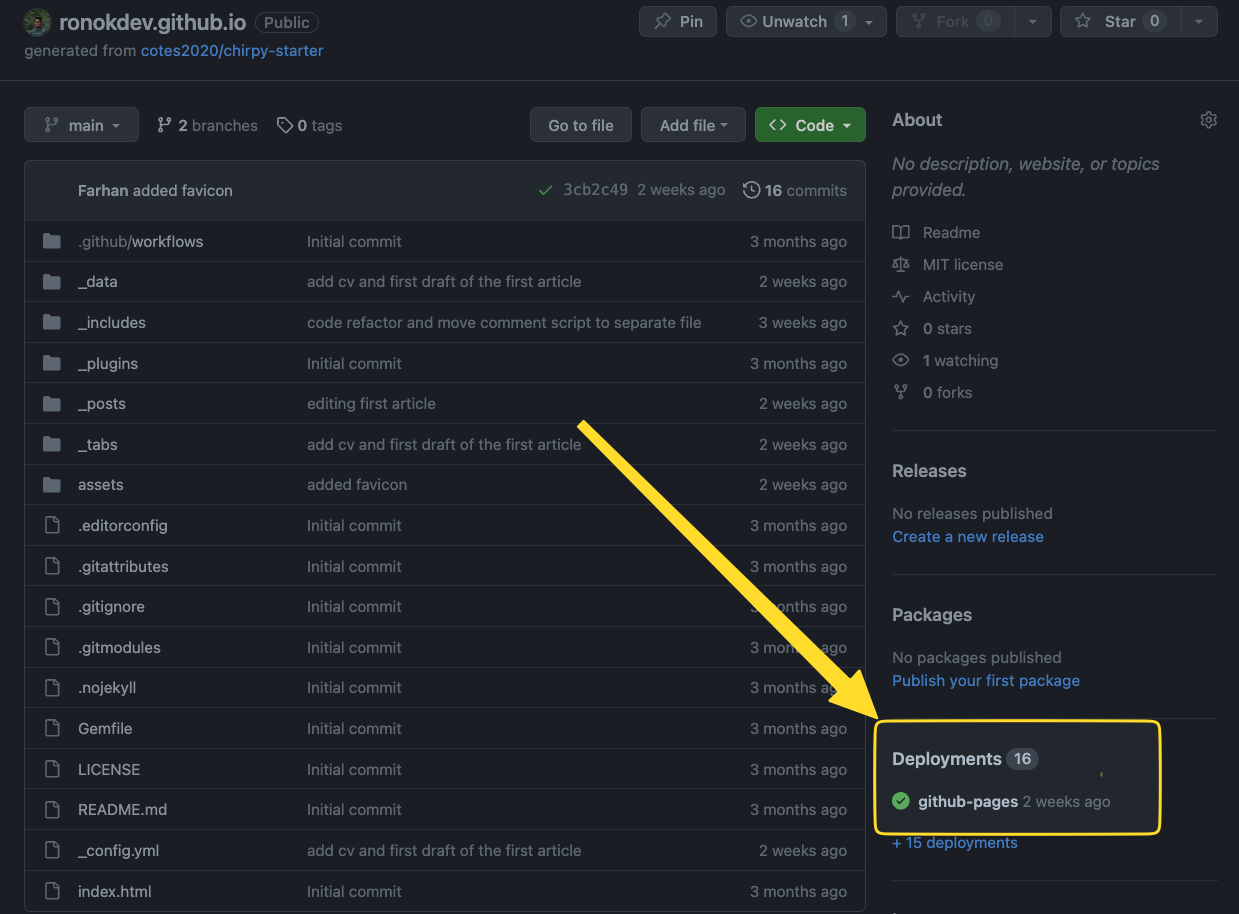
when the deployment is successful, we should see our site running at YOUR-GIVEN-NAME.github.io and in my case ronokdev.github.io
Aaaand, deployment is done.