Build and host portfolio site with jekyll chirpy - Part 3 | Add Comment Using Giscus
Objective
We are going to understand how to
- Use Giscus to add comment section to our blog
What is Giscus
Giscus is comments system powered by GitHub Discussions. Our website visitors can leave comments and reactions on our blog post via GitHub.
How to use Giscus
Setup in the Giscus site
First we need to go to the official giscus site : https://giscus.app/
Before putting our repository details in the giscus site , we find need to check some points
- Our blog repository should be public
- Giscus is installed as an app for our GitHub profile. we can install giscus from HERE
- Discussion is enabled for our blog repository. we can find how to enable discussion feature from HERE
Setup in our blog
we need to put our blog address in the repository field in the giscus website. And after putting our repo link if we see the message like : Success! This repository meets all of the above criteria. Then we are good to go. 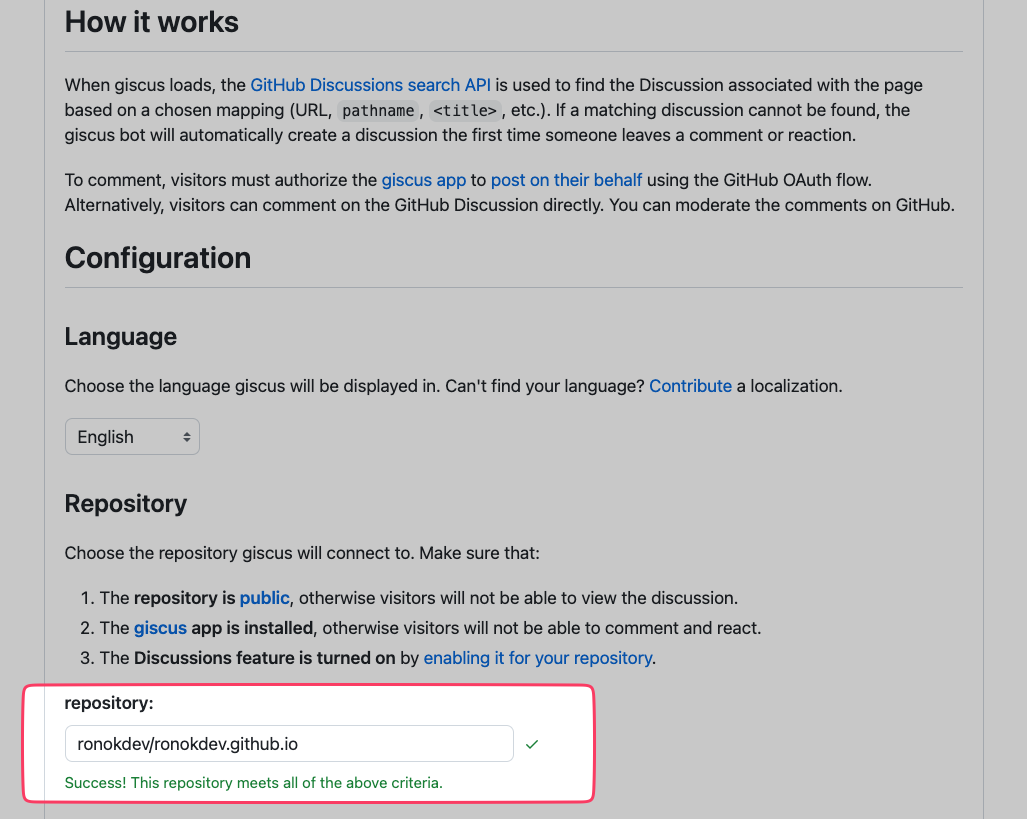
For now the section Page ↔️ Discussions Mapping we are keeping the setting as it is. 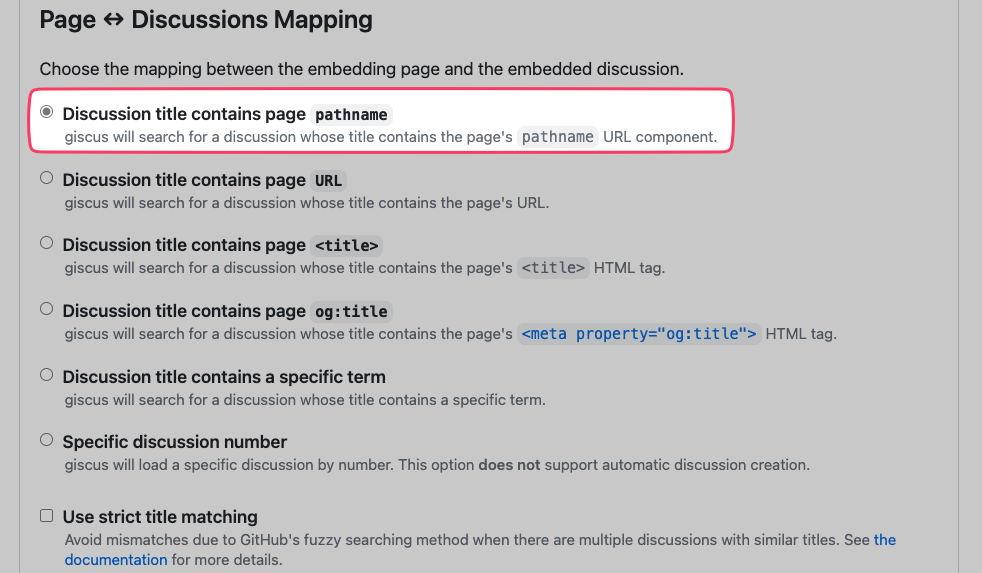
The section Discussion Category we are keeping the setting as it is. 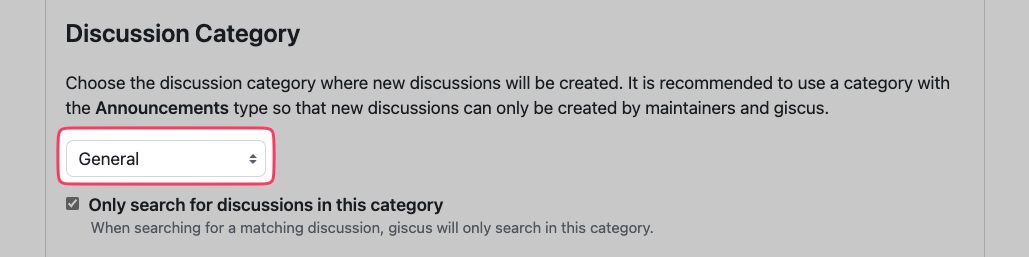
and the section Features we are keeping the setting as : Enable reactions for the main post. 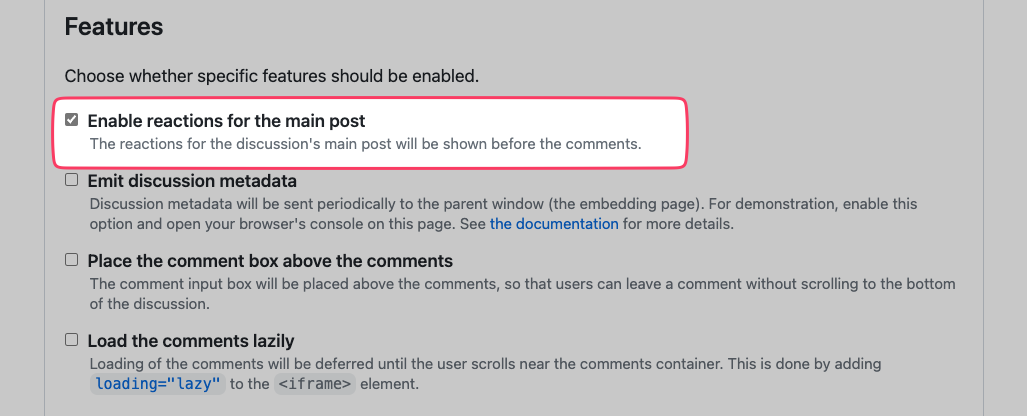
The section Enable giscus is our section of interest. 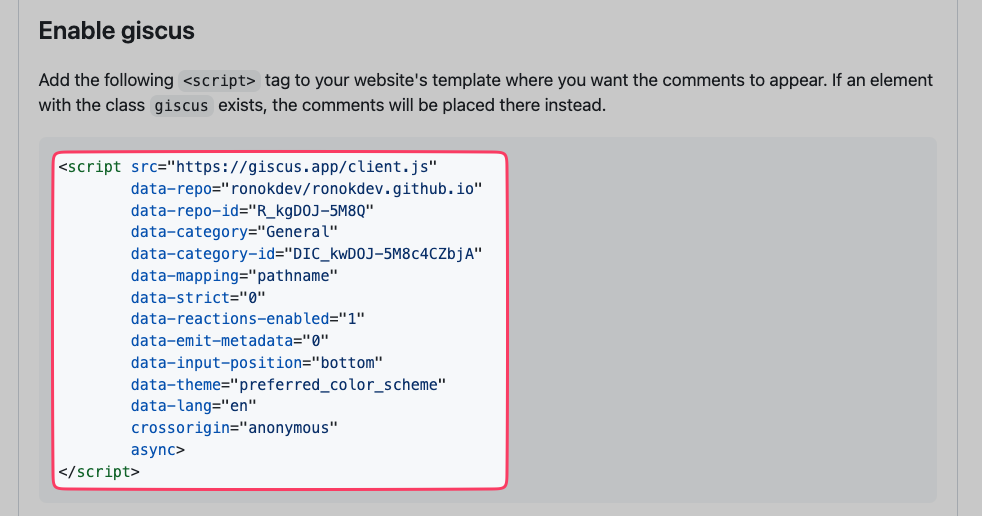 we want the comment section per each blog post, and we can do it by creating an
 comment.html page and then paste everything in between the <scirpt> tag in the html file.
Finally, include the .html file in each and every blog post by adding this at the last of your .md file
1
2
3
4
5
6
7
8
9
10
11
12
13
14
15
16
<script src="https://giscus.app/client.js"
        data-repo="ronokdev/ronokdev.github.io"
        data-repo-id="R_kgDOJ-5M8Q"
        data-category="General"
        data-category-id="DIC_kwDOJ-5M8c4CZbjA"
        data-mapping="pathname"
        data-strict="0"
        data-reactions-enabled="1"
        data-emit-metadata="0"
        data-input-position="bottom"
        data-theme="preferred_color_scheme"
        data-lang="en"
        crossorigin="anonymous"
        async>
</script>
And for the final step we need to update the giscus section data in the _config.yml file. Which we can find in the root directory of our blog repo. For my blog it looks something like this
1
2
3
4
5
6
7
8
  giscus:
    repo: ronokdev/ronokdev.github.io
    repo_id: R_kgDOJ-5M8Q
    category: General
    category_id: DIC_kwDOJ-5M8c4CZbjA
    mapping: pathname
    input_position: bottom
    reactions_enabled: 1
You must change repo, repo_id, category, category_id as per your need and configuration.
If everything is set up correctly then we should see something like below. 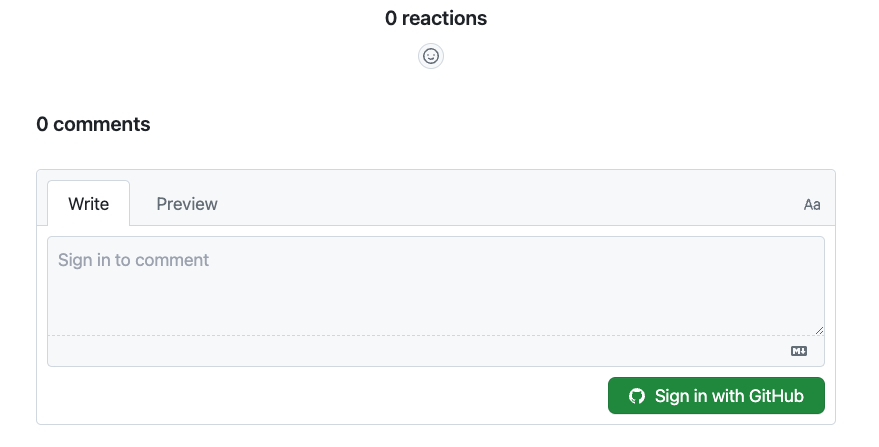
Aaaand, we are done !!